June 29, 2008

Cat, and a sneaky peek...

A big thank you for all your comments on my previous post, I have been given lots of food for thought.  There are a few other projects on the go here, but I will re visit the fish, I'm not done with him just yet!

For now, I have indulged in what I do best, and am working on some more cats.  I do love the mix of materials that evolves with these, I love using the felted wool as a base fabric, even though it is really difficult to stuff, lumps appear in all the wrong places!

And here is a sneaky peek of something that will be making an appearance later this week.  I was going to post it all tonight but there is a poorly little boy, cough, cough, coughing next to me, so I'm off for a cuddle!

June 24, 2008

The bleepers!

I thought it would be fun to show these, the ones that didn't go quite right...

the toadstool that will not stand up, (when I photographed it before, I cheated, and used blue tack on the bottom!)

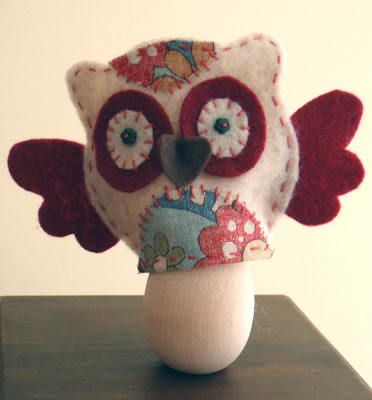
And the owl egg cosy, that was too narrow to fit over the egg, (cue back to the drawing board with the pattern!)

This one, however, is a wip... a fish,

I'm beginning to hit a stage where things need to change direction slightly. I have plans, but none of those can happen without the work itself being right. I know I love working three dimensionally, I also like working small, the choice I need to sort out is between a style that is cute or do I go down the more realistic route.

At the moment, the fish, is neither one or the other, I'm at a crossroads. The danger of the cute, is the crossover with the toy market, which I want to avoid, (too much red tape for the handcrafted) and the danger of the realistic, is am I actually able to pull that off well, or will it look like I'm trying too hard?.

What do you think...?

June 19, 2008

You may be forgiven for thinking...

...that this is one of my usual owls,

and at first glance, I suppose it is.  But look closer,

here's a clue, there it is in front of one of my usual owls.  It's half size, teeny tiny!.  I really like working small, and wondered if it was possible to do baby owls, so gave it a go!.  

I am in the middle of a (late) spring clean, so am making the most of there being no children in the house so I can go through the toys and cull all the broken things without causing too much upset, wish me luck!

June 16, 2008

Owls...

I will shortly be doing a little housekeeping in my Etsy shop, some things will be coming out, and going off to the 'Softies for Mirabel' charity auction, to make way for these...

With the school summer holidays approaching, I will aim to drip feed Etsy with some small items which I will announce here beforehand.

Thank you for all the lovely owl egg cosy comments, you are all so sweet!.  I need to set some time aside to go visiting everyones blogs.  I'd also love to see any egg cosies that have been made, check these out, here (scroll down) and here, I may have to start another Flickr group!.  And a big thank you to Craftzine and Whip Up who both featured the tutorial.

Well, Friday 13th June has passed, unlucky for some, but it should have been a lucky day for all (66!) toadstool swappers.  Please do let me know if there are any problems, however small.

You can check out all the toadstools made so far in the Flickr group pool.  Right, I'm off to do some 'Etsying'!

June 10, 2008

Owl egg cosy tutorial

'Hey, little egg, why so sad?' (notice, it's a stunt egg, not a real one!), 

'What's that?, you'd like a little jacket to keep you cosy, well, look no further, how about an owl egg cosy?...'

You will need felt (various colours), patterned fabric, 2 buttons, embroidery thread, pins, needle, paper, pencil and scissors.  First, print out the templates below so the owl body is 10cm wide at the bottom.

Using the templates, you will need to cut, 2 body, outer eye, and eye shapes in felt, 1 beak shape also in felt, 1 tummy shape in patterned fabric, and for the wings, cut 1 in felt and 1 in patterned fabric, then flip the template and cut the same again.

Position the tummy fabric on the bottom edge of the front of the owl and applique on using random straight stitches,

place one button in the centre of the smaller felt eye shape, with the outer eye shape underneath.  Sew on the button and then fix the eye, again using random straight stitches.
 
Repeat for the other eye, and  then attach the beak between the 2, by firstly folding it in half, then sewing 2 or 3 tacking stitches.

Pin each of the wings together, patterned fabric facing front, felt to the back, and sew around the edge in blanket stitch.

Once both wings are complete, sandwich them, at either side of the body, between the front and back of the egg cosy and join everything together with a running stitch, through both layers, all the way round.

When you get to the bottom edge, stitch the running stitch so it only goes through the top layer which will help to anchor the fabric appliqued tummy.

And there you go, one owl egg cosy!

(Smallprint, as always, please remember any tutorials I offer are for personal use only, and are not to be used commercially, thank you)

If you make something from one of my tutorials please do join the Flickr group, Lucykate Crafts... pattern pieces, to show off your creations.

June 9, 2008

For Lucy...

Lucy was feeling a bit blue last week, she gets a bit jealous sometimes as she knows that while she's at school, Luke is getting to spend time at home with me.  So I thought I'd tinker around a bit more with the bird pattern, and sew some softies especially for her,

So, I'd like you to meet the little birds...

The body is made from a thrifted jumper, I love the colour but it won't felt as it is 'superwash' wool, basically pure wool that has been treated so it can be machine washed.  However, I did give it a go, the thinking being, if you mistreat it enough, it may just give in (same tactic works with husbands too, I believe!).  This poor jumper has sat in our washing machine and been through every wash cycle for about a month, and has also been in my biggest pan and boiled on the stove!  It didn't fully felt, but it did go a little, enough to cut it up anyway.

(Mummy bird)

Both birds have a little bit of embroidery on their wings,

(baby bird)

I really enjoyed making these, it was one of those projects that gives you a warm fuzzy feeling while you are sewing.  I just wish I had a picture to show you, of the smile on Lucy's face when she saw them!

June 5, 2008

Scarry stuff...

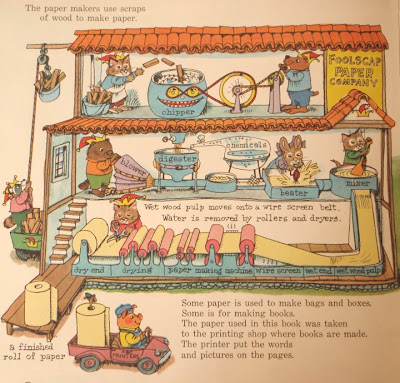
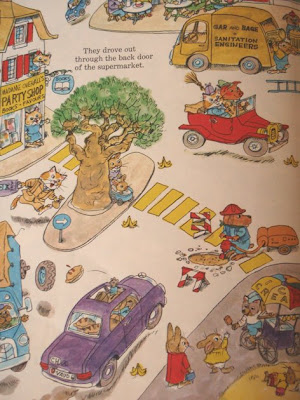
We are big fans of the Richard Scarry books in our house...

Luke loves all the little characters and cars...

I've often thought that Huckle and Lowly Worm would make great softies...

(images from my latest charity shop buy, storybook £1.45)

and talking of softies, 'Pink' has arrived in the Etsy shop this afternoon!

EDIT TO POST
3 owls, 1 pink cat and 1 pink kitten SOLD, thank you!

June 3, 2008

I wish I was...

better at keeping a sketchbook!

Sketchbooks were never my strong point while I was studying for my degree, and since then, although I aspire to be a sketchbook keeper, I am naturally drawn to designing new patterns three dimensionally.

This is a bird idea I have been working on, and is actually version number three, the first resembling a slug rather than a bird, and the second was more dolphin like.  Whilst, the bird is still not quite right, I am at least, for now anyway, on the right track with it.

Apologies for the bad photography today, it's raining and the light is pretty grim, even Photoshop was unable to compensate enough!.  I have a few things that will be going into the Etsy shop later this week once I get images I am happier with.

And finally... check out the toadstool swap Flickr group photo pool, some lovely work going on in there, well done everyone!

(which reminds me... I must make my toadstool soon, quick, where's that 'to do' list!)